
A Beginner’s Guide to NX Ray Traced Studio
Watch the Video!
Need a video to help you through this process? Then check out the video on youtube!
You’ve spent hours perfecting the geometry of your part in Siemens NX. It’s technically sound, functionally perfect, and ready for production. But when you need to show it to a client, a manager, or a marketing team, a standard gray CAD screenshot just doesn’t cut it.
In our latest tutorial, NX 1953 - How to Use Ray Traced Studio and Rendering, we take you through the basic steps to transform your CAD data into a stunning, lifelike image.
Why Use Ray Traced Studio?
Ray Traced Studio is the built-in rendering engine in Siemens NX that simulates how light actually bounces off surfaces in the real world. Unlike the standard "Shaded" view, Ray Tracing adds:
True Reflections: See your surroundings in polished metal or glass.
Soft Shadows: Create depth and realism that standard views can't match.
Physical Materials: Make plastic look like plastic and steel look like steel.
The Basic Workflow for Beginners
Getting a great render doesn't require a degree in photography. In the video, we break the process down into four manageable steps:
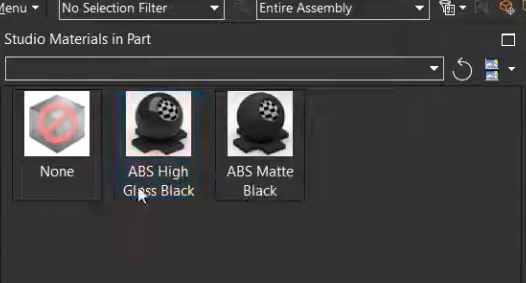
1. Materials and Appearances
The first step is telling NX what your part is made of. We show you how to navigate the System Studio Material library to drag and drop realistic textures directly onto your components.
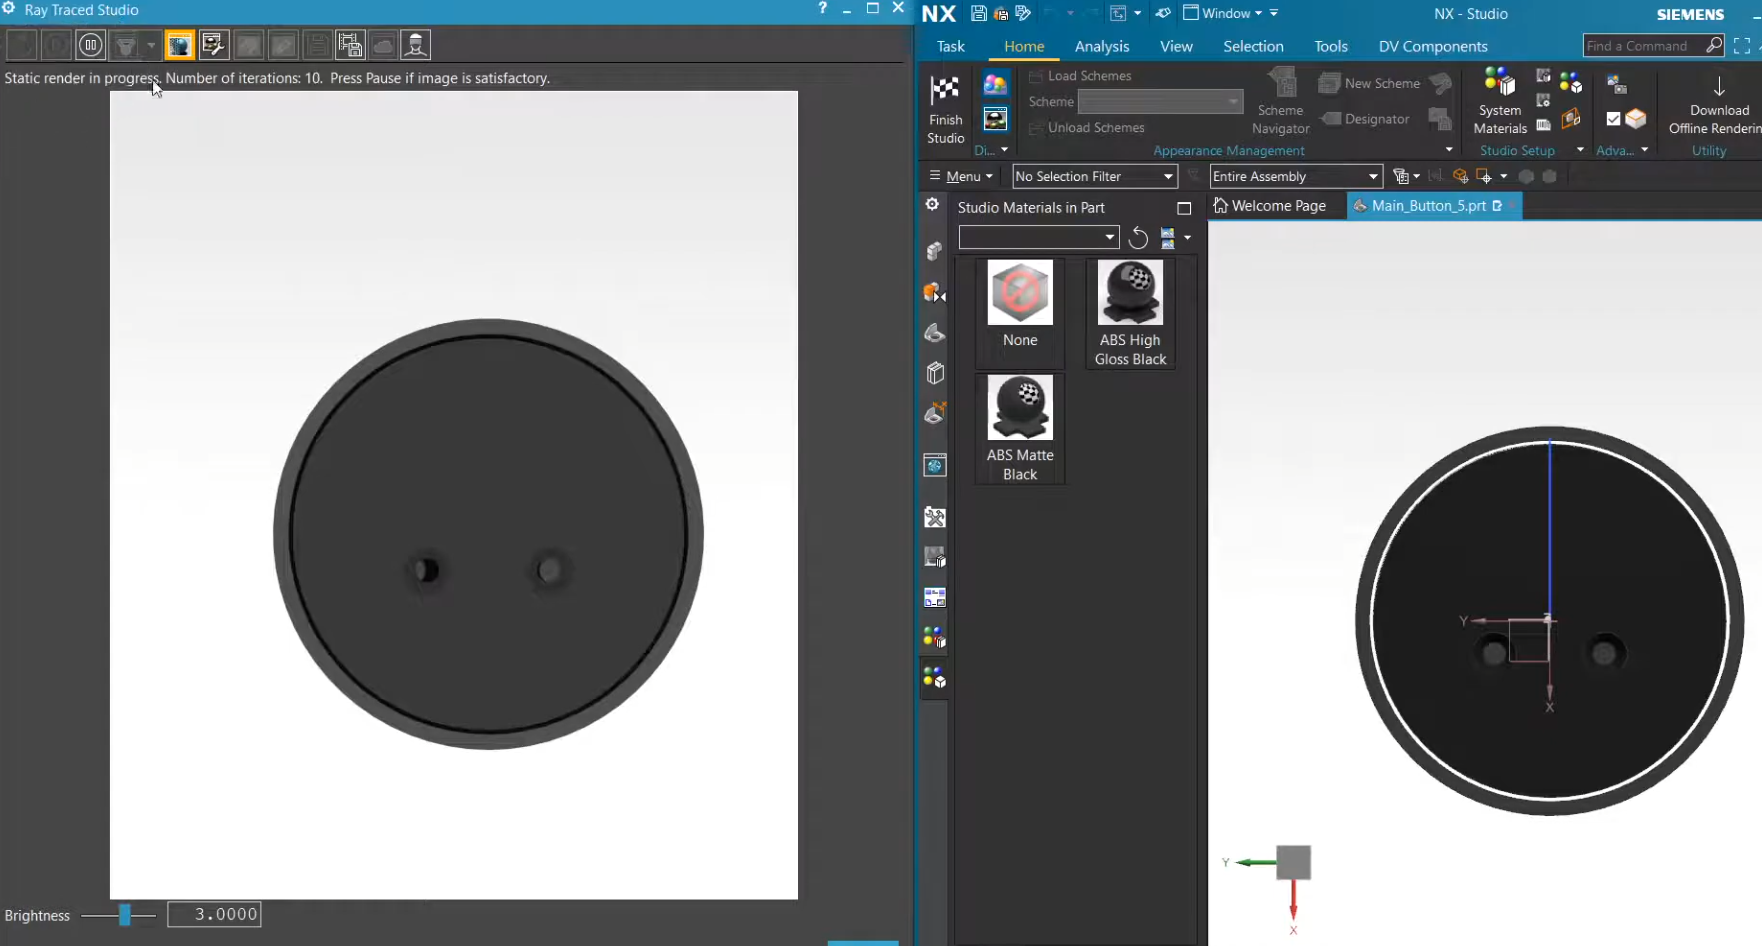
2. Running the Render
Finally, we show you how to start the Ray Traced Studio display. We explain the difference between the real-time "Interactive" mode and how to output a high-quality static image for your reports or presentations.
Start Visualizing Your Designs
Whether you are using NX 1953 or a newer version, the fundamentals of rendering remain the same. Learning these basic visualization skills will help you communicate your design intent more effectively and add a professional "polish" to your portfolio.